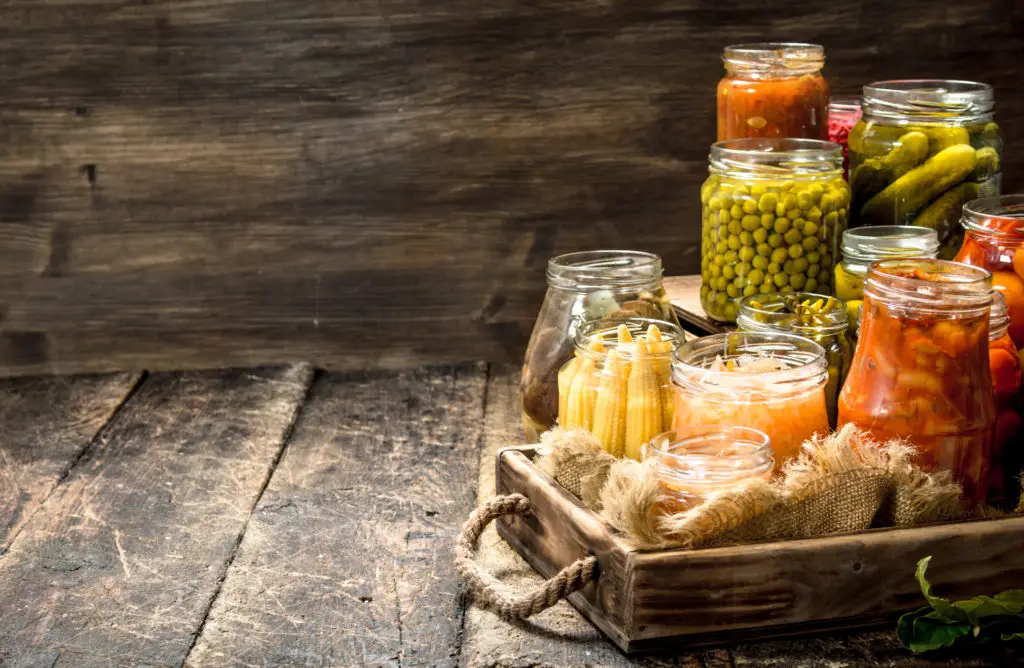
Pressure canning allows you to preserve some of your favorite foods, with the use of special equipment that works by cooking the food at a higher temperature compared to what’s used for the water bath canning process.
It’s often used for veggies, fruit, and meats. A pressure canner can be used to can soup, applesauce, peas, beans, meats, and more. This process will make stored goods shelf-stable and is said to retain many of the vitamins and nutrients that are lost with commercial canning processes. So, how does come canning work exactly?
Table of Contents
The Process
Water bath canning is a commonly used process that involves placing jars of food in boiling water for a certain period of time. Unfortunately, on the stovetop, water is only able to reach around two hundred degrees, but as the jars boil, it kills off any bacteria inside the jar. This process is primarily used for high-acid foods, such as pickles, which are safe to process at this temperature.
With pressure canning, you’ll use less water as steam becomes trapped inside a pressurized container in order to increase the temperature to over two hundred degrees. This will allow you to preserve food that would otherwise need acid to be added to protect it from bacteria growth in the future.
But considering its versatility and the fact that it allows you to can a wider variety of food, more people are turning to this method over water bath canning processes.
So what are some other advantages to using this process?
- It can better maintain the flavor of the can’s contents, so it tastes just as fresh as the day it was canned.
- You don’t need to use much water
- You can store the cans right on the shelf, so you don’t have to have a cold cellar or an expensive freezer.
But there are some downsides to using this method, including:
- You need to purchase special equipment, which can be pretty pricy.
- This same equipment can take up a lot of space.
- It can be difficult for beginners. Using the equipment is more complicated compared to other styles of preserving equipment.
- The texture of the canned food will change. Most often, the fruits and veggies will be much softer.
- The equipment is usually high-maintenance.
Canning Basics
Using a canner, you’ll add two to three quarts of water and turn the machine on high. You must add enough water to prevent the canner from dry boiling, however, the water should not completely cover the canning jars.
For the process, you’ll begin by adding contents to each jar, wipe down each rim, then place the lids on securely.
The pressure inside the pot will accumulate until it reaches a certain temperature. The machine will alert you that the temperature is reached through the use of a weight that will move around or a dial.
The jar’s contents will be processed for a determined amount of time, depending on what you’re canning.
Once the process is complete, the canner will shut off and should be given time to cool down before removing the jars.
These jars should then be cooled for a period of twenty-four hours before stored.
Pressure Canning Vs Water Bath
The canning method you choose should be based on the type of food you want to preserve. When done correctly, you can preserve some of your favorite foods. However, if you choose the wrong method, you can get sick from tainted food. Once you know the ins and outs of canning types and your options, it’s actually pretty simple to choose the correct method.
The first thing you should know is that there are a couple of different types of canning. One involves a water bath, the other is the method I discussed earlier, using a pressure canner machine. But this method requires you to purchase a pressure canner, in addition to other equipment, such as jars and lids. The water bath option simply requires a large pot and the jars and lids.
Water Bath Method
With this method, all you need is a large pot that has a rack placed on the bottom. The jars are then filled with food and topped with special lids that will lock in the contents as the jars are placed in a full pot of boiling water for a specific length of time, based on what you’re preserving. The water bath method is only able to heat up the contents to the temperature of boiling water, which is around two hundred degrees.
Canner
This method uses a heavy-duty machine called a canner. It’s equipped with screw clamps, a pressure gauge, and a vent. This machine is able to heat the food in the jars to a much higher temperature compared to the water bath method.
If you’re new to canning, then you’ll want to use a beginner-friendly model, and one that has a reputation as one of the best pressure canners on the market, since these are often the simplest, safest, and easiest, to use. I recommend the Presto 01781 23-Quart Pressure Canner and Cooker.
Choosing the Safest Process
The next thing you need to learn is which foods can be safely processed via canner or water bath. Basically, any type of low acid food should be processed with a canning machine. This means that any type of unpickled veggie cannot be processed safely in a pot of boiling water.
While botulism bacteria can be killed off in boiling water, the spores are still able to survive. These spores can be killed by bringing the contents in the jar up to a higher temperature. To do this, you’ll need a pressure canner. Another option is creating a higher pH level. To learn more about killing harmful bacteria, read my guide on does pressure cooking kill bacteria?
Foods for Canners
Fruits and veggies that are in lightly salted or plain water and any type of animal products have a slightly alkaline or neutral pH. Because a canning machine can reach a higher temperature it can be used to process alkaline foods.
Water Bath Safe Foods
All types of acidic foods such as sugar preserves, pickled veggies, and any food with added acidity can be processed in a water bath. The acidity of these foods, combined with the heat can help safely preserve the food.
Pressure Canning Pickles-Can I?
The answer is no. As you know by now, most people will use the water bath method for pickles, since they’re very acidic. Pickles are just one of the many types of foods that are meant specifically for water baths because using a canner can ruin the flavor and texture.
Water Bath Process for Acidic Foods
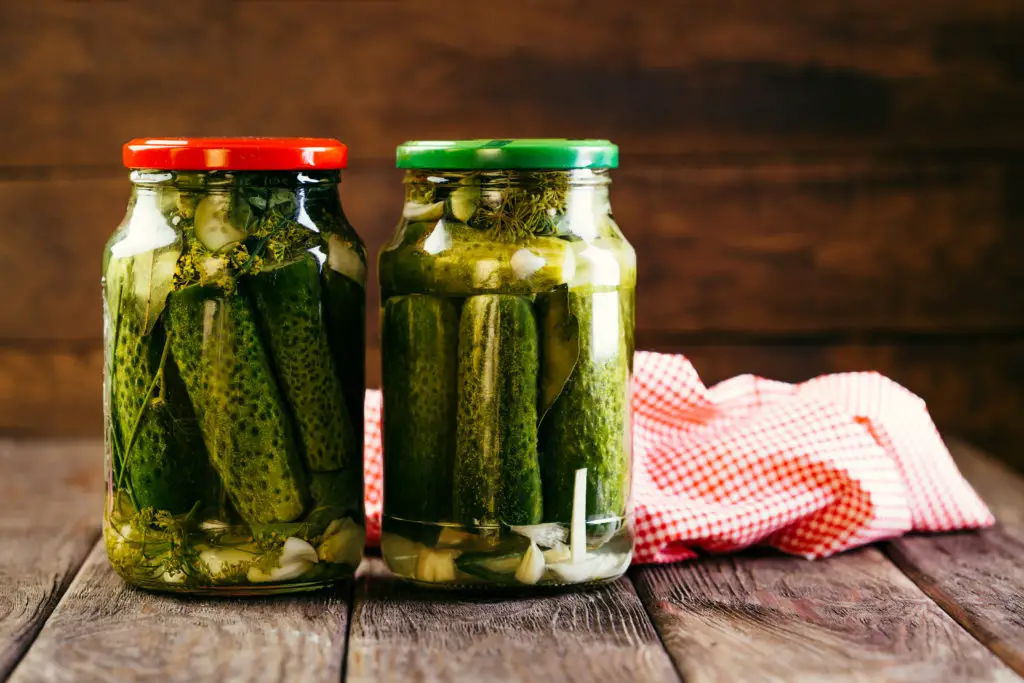
When it comes to acidic foods, water bathing in favor of using a canner is more about flavor than safety. Using a canner would destroy pickles, causing them to come out mushy, which is not the texture you want. A basic water bath is more than sufficient to kill off any bacteria, especially with the added vinegar.
For a water bath, you’ll start off by grabbing a large pot and filling it up with enough water to completely cover the jars. There should be a rack at the bottom of the pot, which will allow you to boil the jars in an upright position.
Prepare the cucumbers by washing them and trimming the ends. I recommend using Kirby cucumbers, which tend to pack more flavor and are less seedy and firmer compared to a full-sized cucumber. The stem and blossom on the cucumber should both be trimmed off since they’re very bitter. Now is also the time to cut the pickles into slices, quarters, or chips, or you can leave them whole, it’s entirely up to you.
How to Make Your Own Brine
Next, you’ll make the pickle brine. Grab another pan and add a couple of tablespoons of pickling salt, a couple of cups of water and white vinegar, and bring all the ingredients to a boil. Using pickling salt is very important. You should never use table salt as an alternative since the salt usually contains a type of anti-caking ingredient that will impact the flavor and turn the brine cloudy.
Processing Instructions
Add pickles and the brine to sterilized jars. You can add other ingredients to the jars at this time, such as dill seeds, fresh dill sprigs, or garlic. Next, pack as many cucumbers into the jar for a snug fit. Add a little more brine until the cucumbers are completely covered, but leave about an inch of space between the liquid and the rim.
Use a thin spatula and place it down the sides of the jar to get rid of any trapped air. After doing so, you may need to add more brine. Next, wipe off the rims using a towel.
For storing, you’ll want to use brand new lids each time, however, you can reuse the screw rings. Vacuum style lids are different and only offer one time use. Screw the lids on securely until hand-tight. Keep in mind that any trapped air needs to escape during the boiling process, so don’t go overboard with tightening the lids.
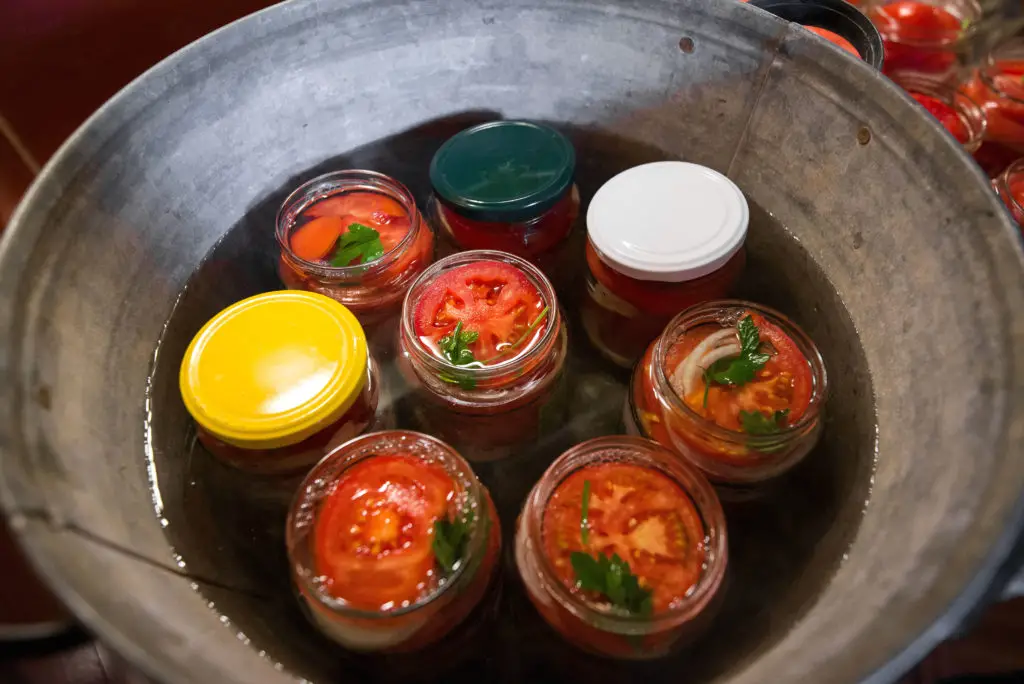
Next, the jars must be submerged in the water. The water itself should be about one to two inches higher than the tops of the jars.
Boiling is next. A nice steady boil is recommended since a hard boil can rattle the jars. The pickles should be boiled for approximately fifteen minutes.
Once removed from the pot, allow the jars to cool down before placing them in the pantry.
Pressure Canning Applesauce
Unlike pickles, you can choose either pressure canning or a water bath for applesauce. But since using a canner is always safer, if you have the equipment, I’d choose this method over the water bath.
For a canner, you’ll use five pounds if the model has a weight gauge and six pounds if it has a dial gauge. The processing time will be dependent on the size of the jars you use. Typically, prep time will be an hour, with a one hour processing time.
Food Prep
To make, begin by washing, peeling, coring, and seeding the apples, then slice them. Place any of the cut-up apples in a bowl of water to prevent discoloration. Add the apples to a large pot of water and boil for twenty to thirty minutes. When soft, you’ll place the apples in a food processor or blender. The sauce should then be placed back in a pot for sweetening. You can add sugar and cinnamon, or other types of sweetening agents.
Bring the sauce to a nice stable boil. Place the applesauce into pint or quart jars. To help retain the color, you can add an optional half a tablespoon of lemon juice to each jar. Use a spatula to remove any trapped air. Wipe off the jars of the rims, place the lids on each jar, then process in the canner. For pint jars, you’ll process them for eight minutes. For quart jars, you will process them for a total of ten minutes.
Pressure Canning Sauerkraut
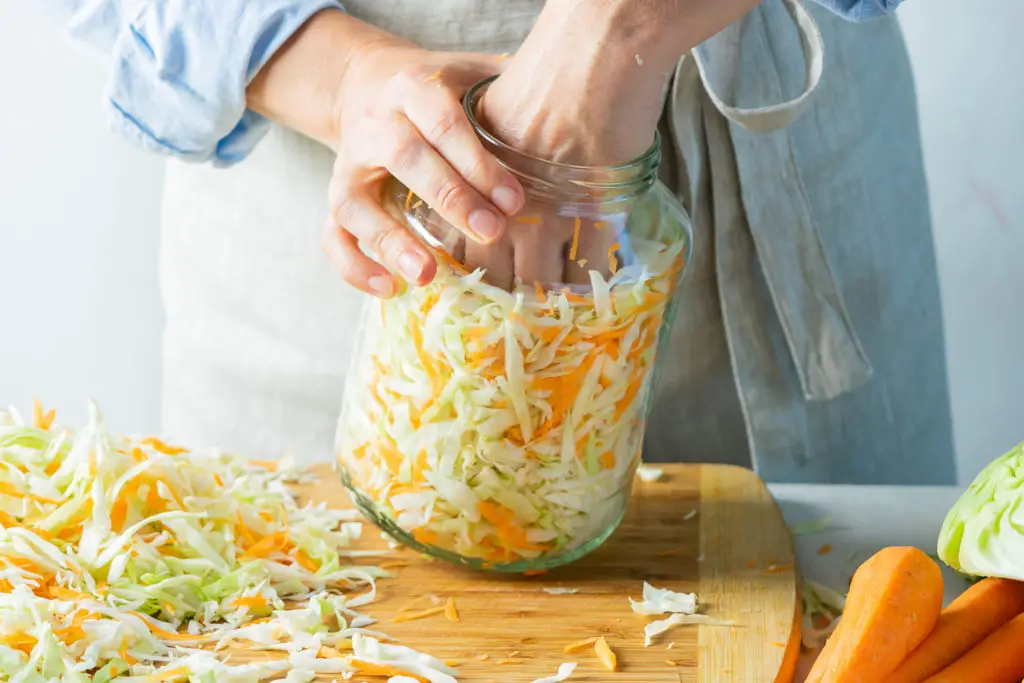
Sauerkraut can be tricky to can, for a variety of reasons that don’t have anything to actually do with the canning process itself. To start, you have to prepare the cabbage in a certain way in order to release the juices and prepare for the fermentation process.
Sauerkraut takes several weeks to prepare because of the fermentation process, which can take anywhere from two weeks up to one month. But if you already know how to make sauerkraut, and you have a batch that’s ready for canning, then this part of the process will be a piece of cake.
How to Prepare the Sauerkraut
Fortunately, canning sauerkraut is totally safe, since it’s very acidic, even without adding vinegar. For this batch, you can use quart or pint jars. Prepare the jars and lids by washing them in soapy hot water. The jars should be filled with hot water to keep them warm. You’ll add a couple of inches of water to the canner, placing it on the stove to heat up.
The heat should be set to low. When you’re ready, fill each of the jars with the sauerkraut and top each jar off with a little hot water. Use a spatula to remove any trapped air, before you add the lids and screw them on.
Next, place the jars into the canner. Lock the lid on tight and increase the steam. Once you see a steady stream of steam coming out from the vents set a timer for six minutes and allow the steam to continue to vent. Once the time is up, if the canner has a weighted steam gauge, place it at fifteen PSI, over the vent hole.
Monitor Pressure
Keep a close eye on the pressure gauge at this time and stick close by. Once it reaches approximately fifteen PSI, it will begin to jiggle. Next, you’ll set an additional timer for twenty minutes. Continue to monitor the gauge and adjust the heat in order to keep the temperature as close to fifteen PSI as possible.
Once the time is up, switch off the heat and allow the pressure to drop naturally. When the gauge reads zero PSI, you can remove the weighted gauge and the lid of the canner. Be mindful of the steam since it can scald the skin. After the jars have been removed, allow them to cool down completely before you place them in the pantry.
The Benefits of Canning: Advantages and Disadvantages
Canning started in 1795, after the French military offered a major cash prize to be awarded to the person who came out with an effective and new way to preserve food. In 1806, Nicolas Appert finally came up with a way to package food that prevented bacterial growth, which was canning. But the canning process has changed since the 1800s. These days, canning is done commercially as well as at home.
Many benefits come with using this process to preserve food, but there are some drawbacks as well.
So what are the pros and cons of making your own canned food?
Pros
- If you have a large garden, then canning is a must. In the beginning of the season, the influx of fresh produce will be a welcome sight, but as the garden progresses, you’ll find yourself knee-deep in tomatoes, zucchini, corn, and other fruits and veggies that can begin to rot if not picked promptly. Canning will allow you to preserve your harvest for the entire year, into the next, so there’s no waste.
- This process alters the contents of a jar chemically by changing the salinity or pH levels and the moisture level to prevent yeast, mold, bacteria, and microbes from contaminating food.
- When you can food, it can last one to two years. It’s a great option for the family on a tight budget. Additionally, you can take advantage of seasonal fruits and veggies, which are offered at a more affordable price when they’re in season.
- If you’re on a tight budget and have a large family and plenty of friends, then canning can also make the perfect gift during the next holiday season. Most people love getting canned foods such as preserves, applesauce, and pickles. Get creative and make your own gift baskets this year, which will save you plenty of cash this holiday season.
- Most people can agree that homemade food just tastes better. When you compare commercially canned food with home-canned, you can’t beat the quality of the food processed right in your kitchen.
Cons
There are some disadvantages that come with canning. As an example, jars can break during the canning process.
- When stored, seals can break which can cause the contents to spoil.
- The entire process can also be very time-consuming.
- If you’ve never canned before, then this process may seem intimidating, since using an improper method can be potentially dangerous. If the food is not processed correctly, or you use poor sanitation practices, then you can expose yourself and others to botulism, which can be deadly. Because of this, following processing instructions closely is crucial.
- Another drawback to canned food is the fact that it tends to have a lower nutritional value compared to fresh fruits and veggies.
How it Can Change How You Shop and Cook
While there are some drawbacks to using a canner, considering it can be potentially dangerous if not done correctly, once you learn how to do it, there will be no stopping you from trying out new recipes, creating your own brine, and storing your favorite foods for the year, which can be very fulfilling and rewarding.
No longer will you have to pay higher prices for out of season veggies. You’ll notice you’re saving hundreds of dollars each month on groceries, and you don’t have to go shopping quite so often since you’ve canned many favorite fruits and veggies.
As you learn more and become more comfortable with the process, you can try your hand at preserving meats and other delicate dishes. The possibilities really are endless.
Final Thoughts
As you can see, learning how to can food is pretty simple, as long as you closely follow processing instructions and use good sanitation practices throughout the process. There are many reasons you should consider learning this skill, especially if you want to enjoy your favorite foods year-round, for a more affordable price.
Now that you know more about the different methods you can use, based on the type of food, how this process can impact the taste and texture of food, and why using a pressure canner is said to be the safest option to protect against bacteria, you can get started this season, experimenting with different foods, recipes, and methods of canning and enjoy your favorite meats, fruits, and veggies, any time of the year.
Originally posted 2019-10-14 09:57:24.

![7 Best Island Punch Pucker Substitutes [ALMOST Identical]](https://wowcookery.com/wp-content/uploads/2022/05/island-punch-pucker-90x75.jpg)
![10 BEST Luxardo Bitter Bianco Substitutes [ALMOST Identical]](https://wowcookery.com/wp-content/uploads/2022/05/luxardo-90x75.jpg)


